
Servo Motor Control
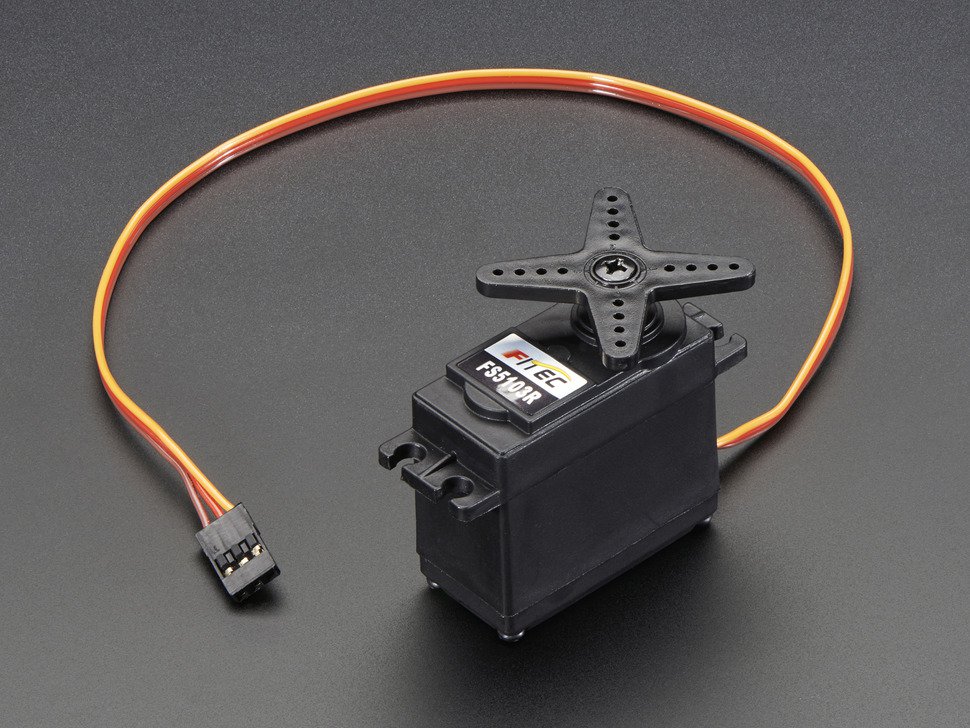
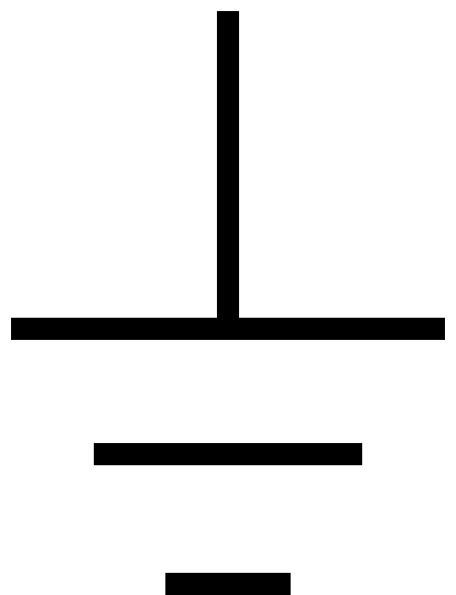
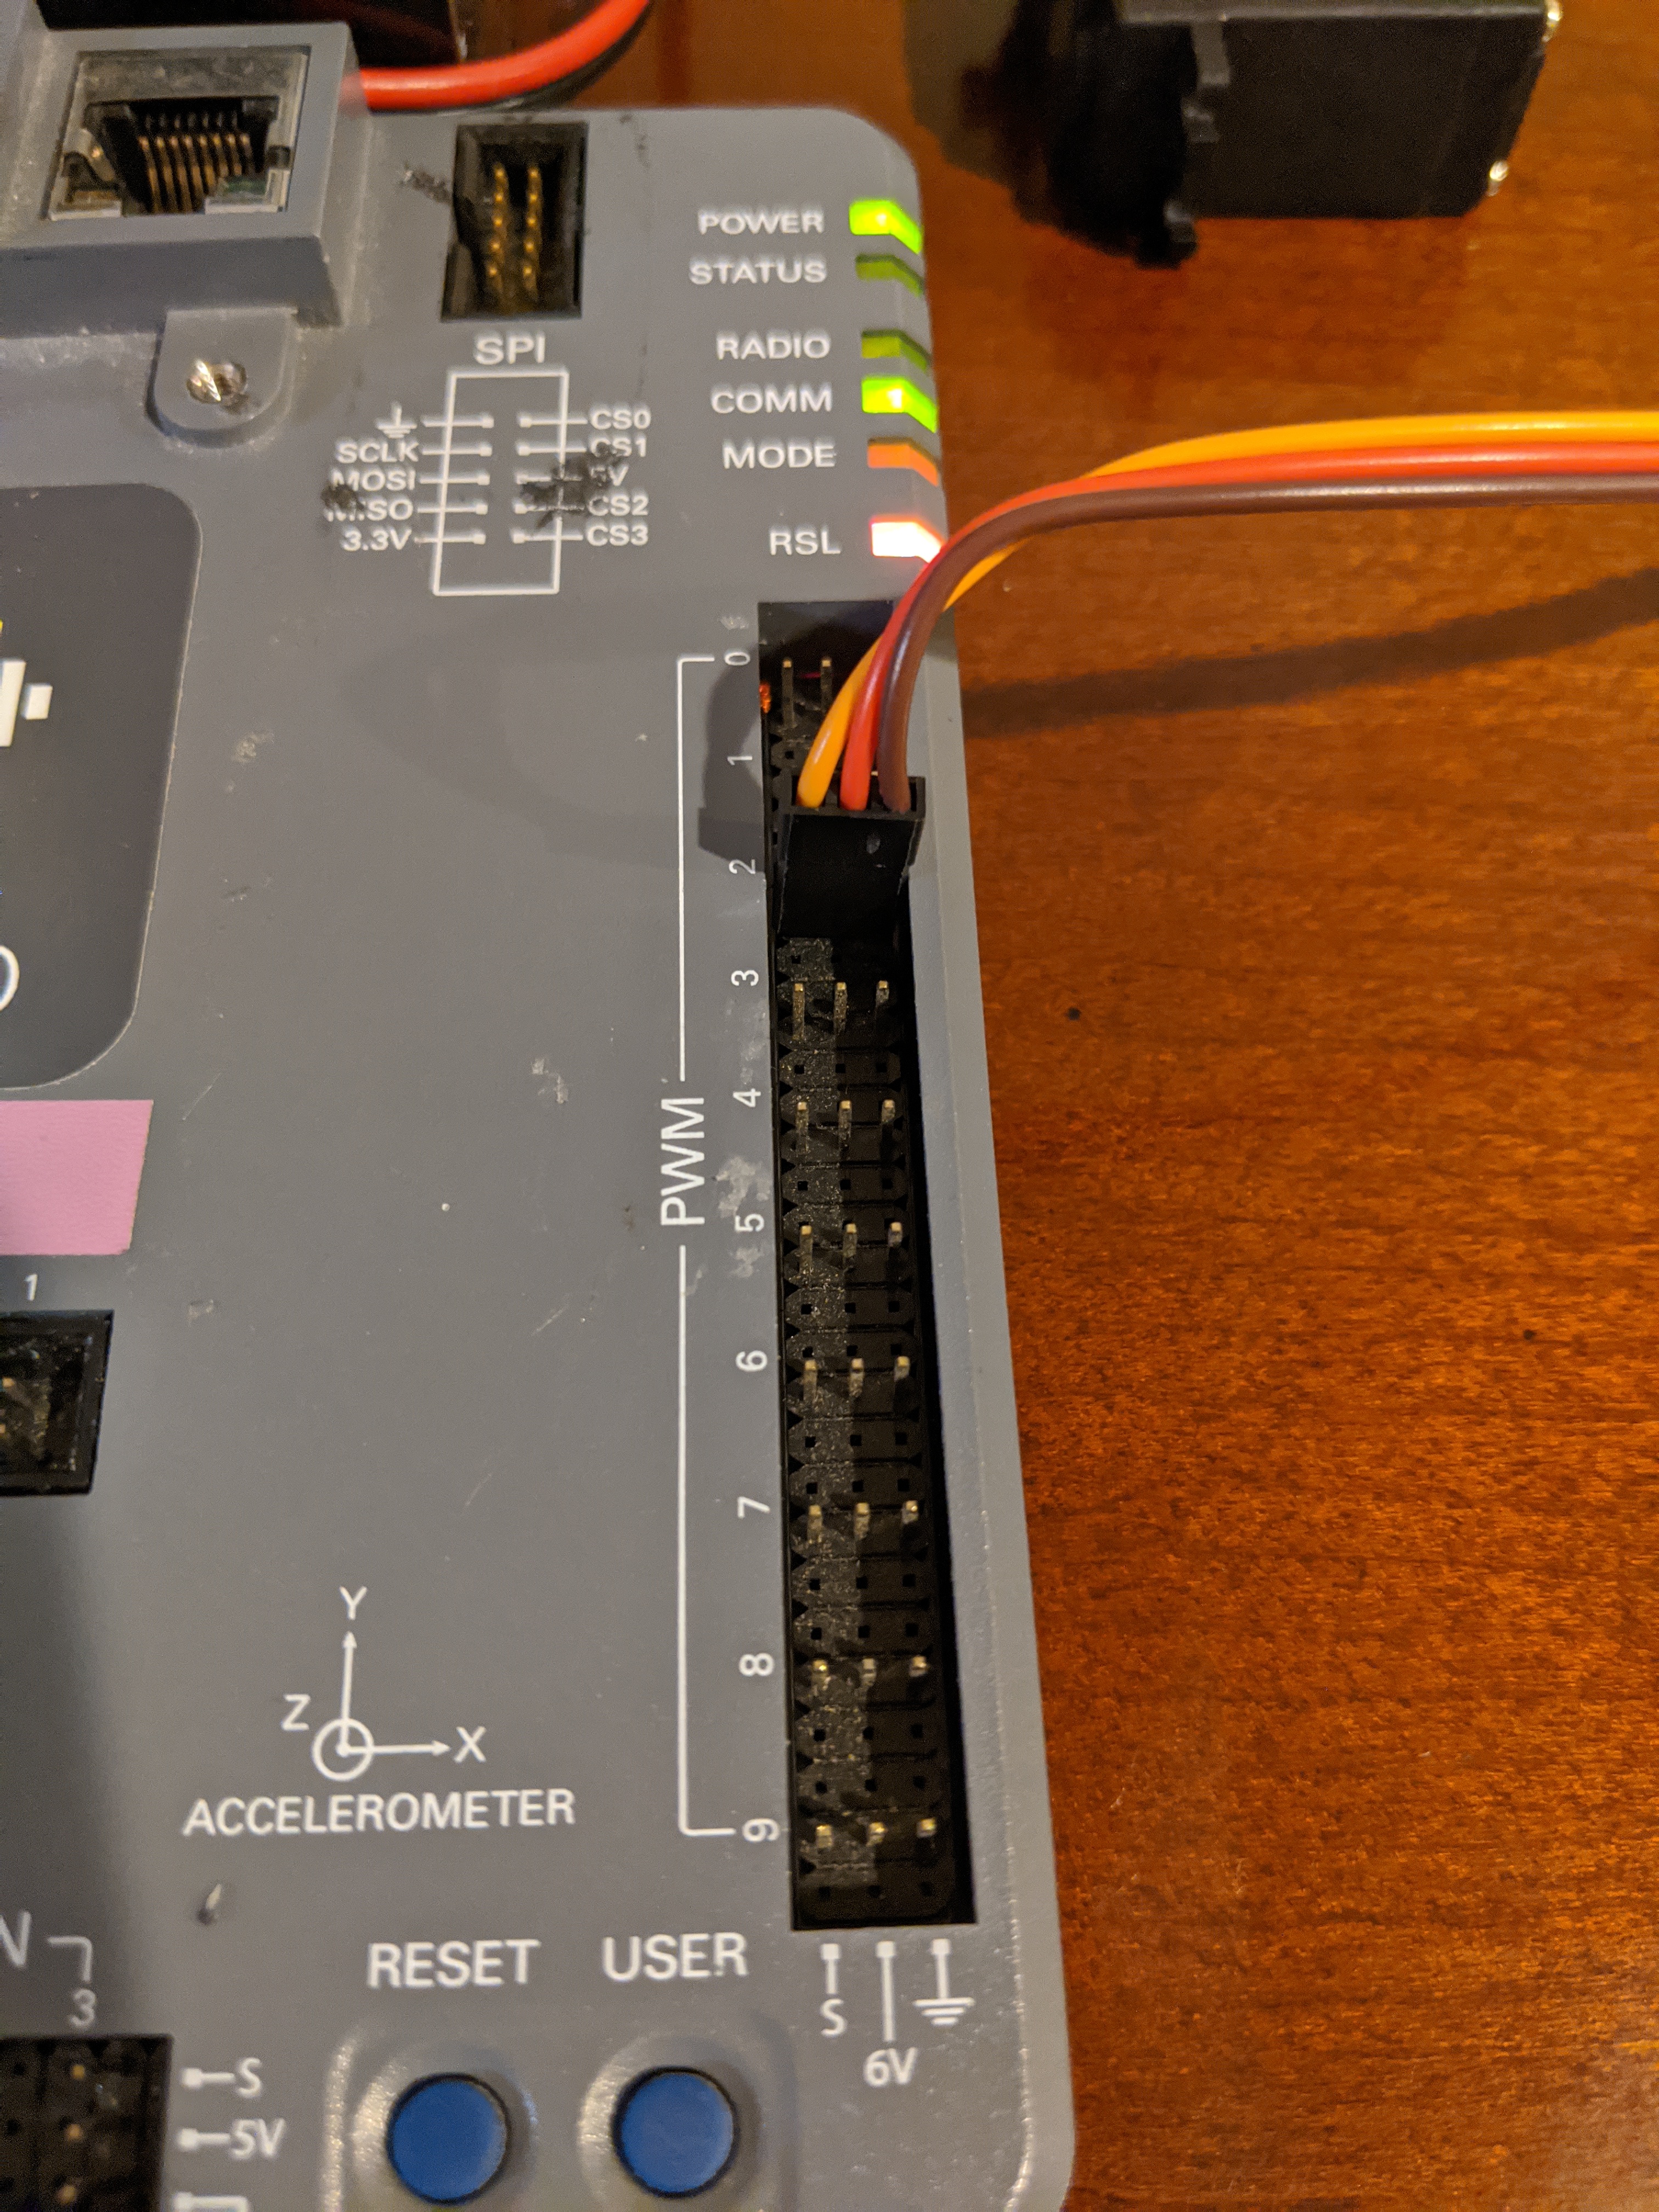
Robots can interact with their environment. Many types of actuators are used in FRC robotics to manipulate the environment; one of them is the Servo Motor.  A servo motor is a special type of motor that can rotate to a precise position, usually between 0 and 180 degrees. They come in a variety of sizes and strengths. You can connect a servo motor to any of the PWM ports on the !RoboRIO. Examine the PWM ports and identify which row of pins are ground (
 , +6V, and Signal (S). The example below assumes that the servo motor is connected to PWM port 2. Make sure you connect them to the proper pins on the Servo motor: black or brown goes to Ground, red or orange goes to +6V, yellow/white/blue goes to Signal. You can read more about servo motors here
Create another program using the TimedRobot java template and name it ServoTest. Modify the generated code as follows:
- Import the Servo, XboxController, and Hand classes:
import edu.wpi.first.wpilibj.XboxController;
import edu.wpi.first.wpilibj.GenericHID.Hand;
import edu.wpi.first.wpilibj.Servo;
- declare variables to hold the Xbox controller and servo motor objects. The variables should be inside in the Robot class since the robot contains those objects ("hasa" relationship: the robot "has a" Servo motor):
   private XboxController xbox;
   private Servo servo;
- in robotInit() instantiate (create) the controller and servo motor objects and store them in the variables you created above.

  xbox = new XboxController(0); // Xbox controller on USB port 0
  servo = new Servo(2);         // Servo connected to roboRIO PWM 2
- in teleopPeriodic() read the xbox controller and adjust the servo motor position according to the joystick position.
  // Read xbox controller left joystick x axis
  // value returned is between -1.0 and 1.0
  double x = xbox.getX(Hand.kLeft);
  // Servo motors are controlled on a scale of 0.0 to 1.0
  // so re-scale the X value to that range (-1.0->0, 0->0.5, 1.0->1.0)
  x = (x + 1.0) / 2;
  // Set servo motor position based on joystick
  servo.set(x);
Connect a Servo motor to PWM port 2 on the roboRIO and run your program. Launch the driver station on your laptop and select Teleop mode (bottom left side of the window). You'll need to press the Enable button on the driver station to put the robot in Teleop mode. When teleop is enabled, teleopInit() will be called once and then teleopPeriodic() is called repeatedly until the robot is disabled. Move the left joystick along the X-axis and observe the servo motor.
To see a complete Robot.java that demonstrates controlling the servo motor from an xbox controller using buttons and joystick, click here.
Once you've completed basic training and are working on intermediate and advanced skills, see servo motor control using the command-based framework here.
Extra credit
Use buttons on the Xbox controller to set the servo to a specific position (e.g. 45-degrees, 90-degrees, 135-degrees).
Attachments (3)
-
ServoMotor.jpg (143.1 KB) - added by 6 years ago.
Servo Motor
-
GroundSymbol.png (2.5 KB) - added by 6 years ago.
Ground Symbol
-
servo_connection.jpg (4.6 MB) - added by 5 years ago.
Servo motor connection
Download all attachments as: .zip